
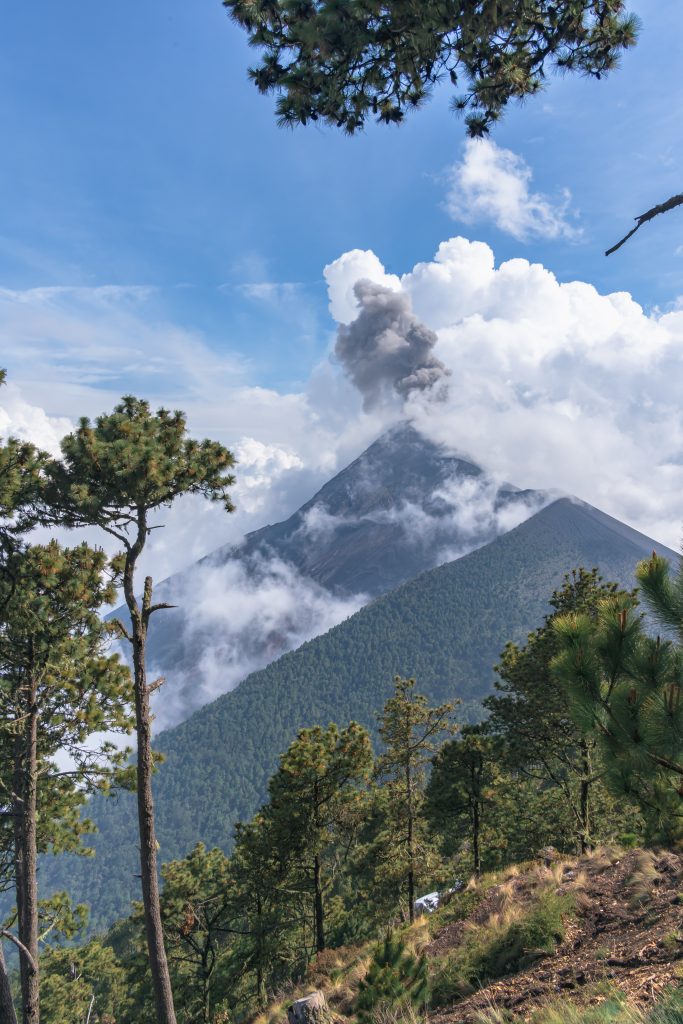
You can visit the Acatenango volcano from the beautiful city of Antigua. During a two-day hike and a night's sleep, you will admire the nature and views of the volcano and see the adjacent Fuego volcano erupting approximately every 20 minutes. The hike can be tough, but it is more than worth it. Are you curious whether the Acatenango hike is for you and what you can expect from it? In this blog we tell you everything you need to know about climbing the Acatenango volcano in Guatemala.
The Acatenango volcano
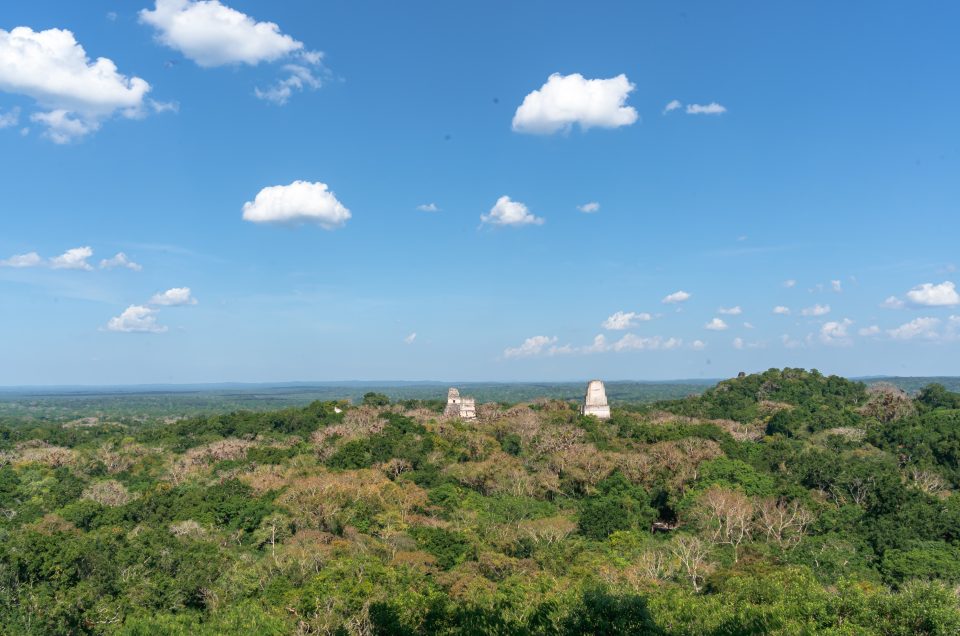
The 3976m high Acatenango volcano is about an hour's drive from the city of Antigua. Next to this enormous volcano is the mega active Fuego volcano. These two are not the only volcanoes in this area. There are two more volcanoes within sight of the Acatenango: the Agua and the Pacaya volcano. The entire area is therefore high and there are only beautiful views!
Which tour operator do you choose for the Acatenango hike?
There are several tour operators that offer the Acatenango hike. There are a number of differences between these tour operators. It is important that you think for yourself what is important to you. For example, we preferred to sleep in a cabin instead of a tent. We also thought it was important that we could rent good equipment, that the tour operator obviously had good reviews and that the guides spoke good English. That's how we ended up at Wicho and Charlie’s. An extra plus for us was that they only offer vegan food and are very conscious and environmentally friendly. The tour cost us 220 euros for the two of us for a private cabin.
UPDATE: In the meantime, new cabins have been built and prices have changed slightly.
The program of the two-day Acatenango tour
Preparation
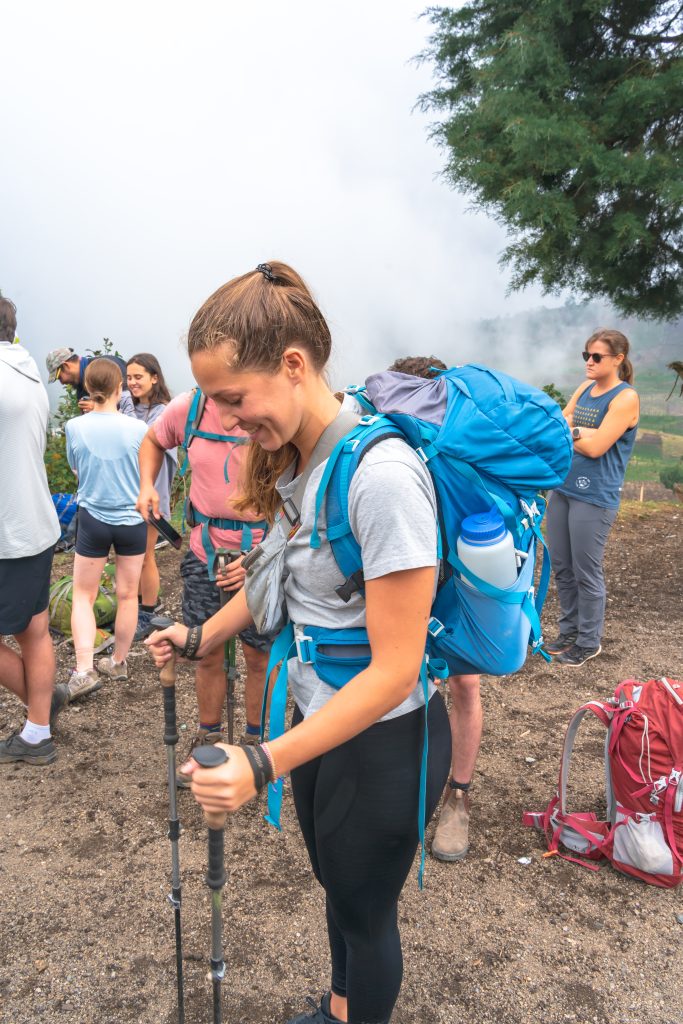
At 7:00 am you will meet in Antigua at the tour operator's office. Coffee, tea and breakfast are available here. As soon as everyone has arrived, the briefing starts. You will receive an explanation about the hike itself, but also about what you need, how to use certain items and what you can expect from basecamp. Then it's time to pick out gear for the hike. You can try on clothes, choose a backpack, walking sticks and water bottles. For some things you pay a small extra rental price. After this, you fill your backpack with all the things you will need for the next two days, including your own packed lunch, snacks and 4 liters of water. Once everyone has all their belongings, you get on the bus and the journey to the start of the hike begins.
The start of the hike
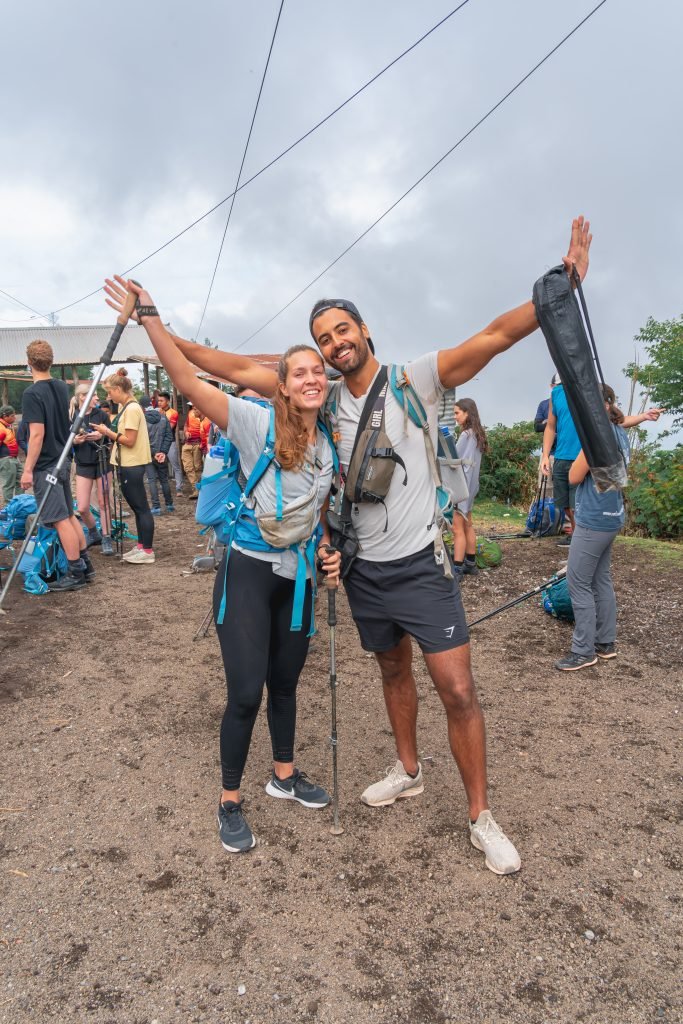
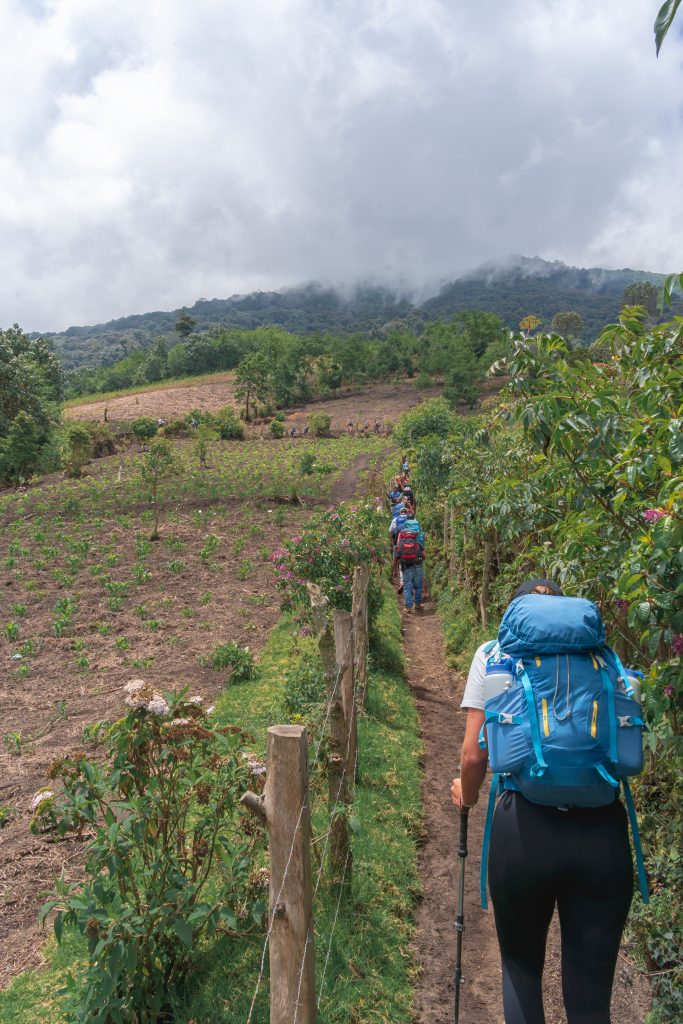
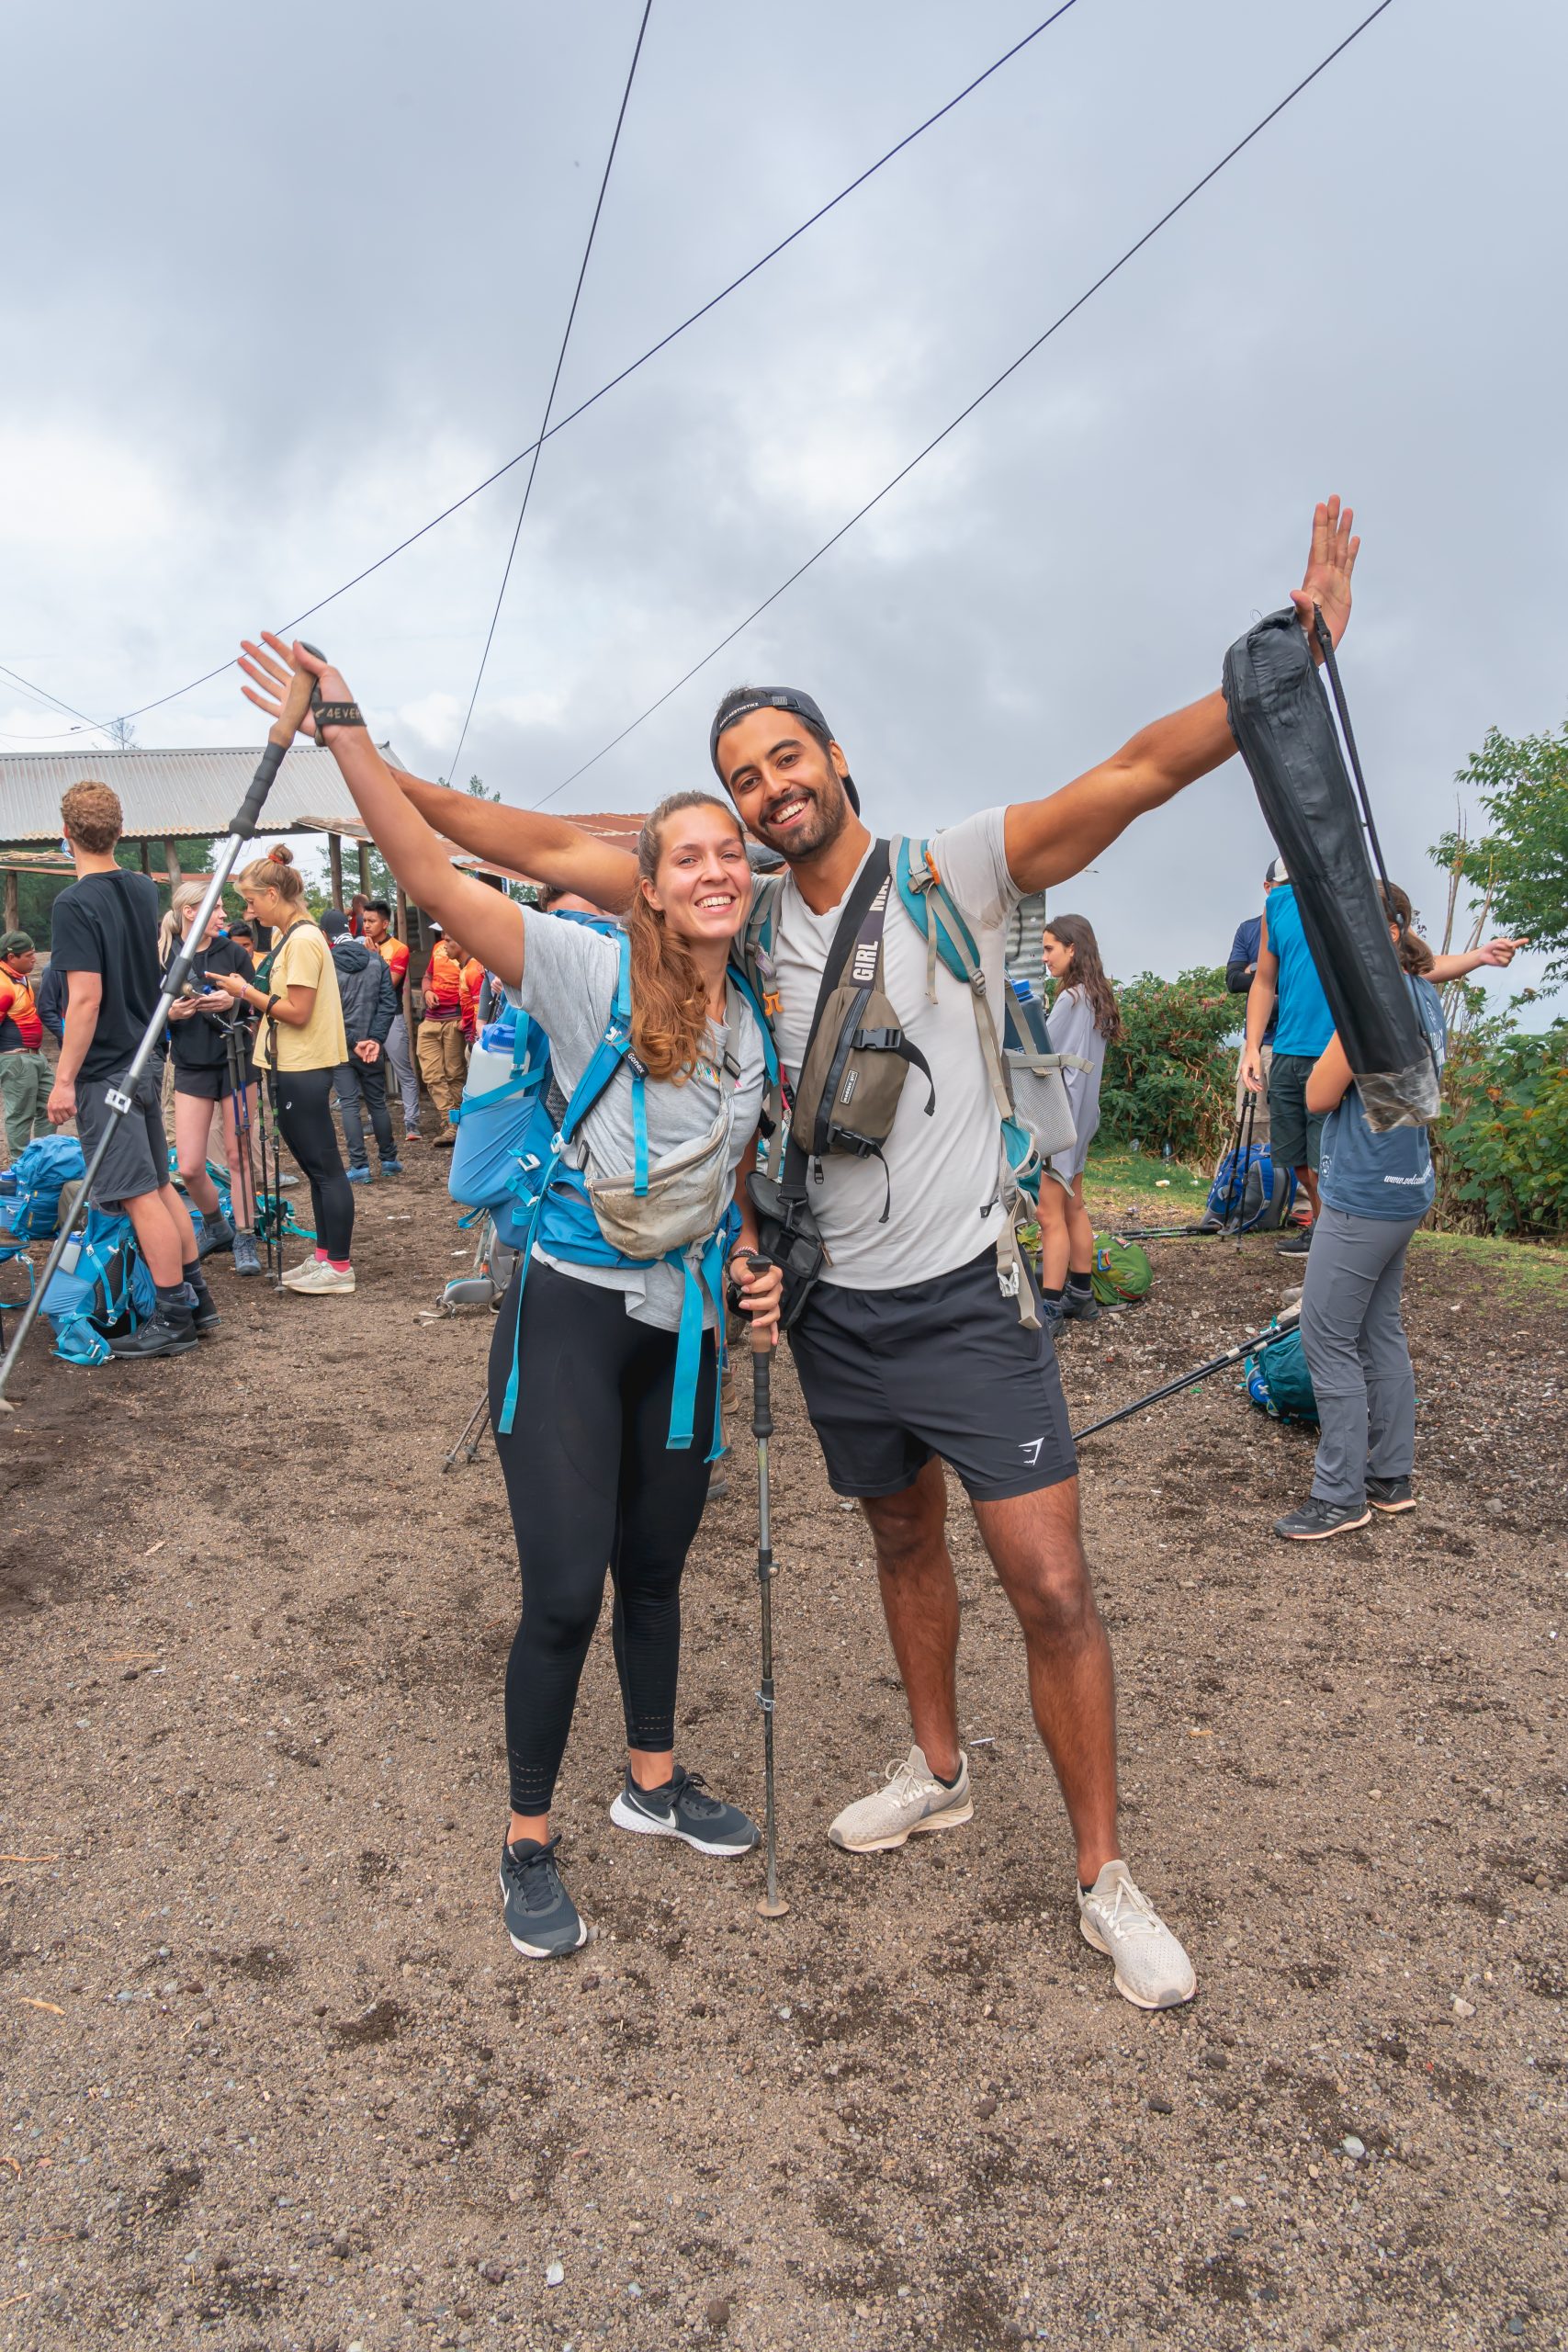
After a ride by bus you arrive at the starting point of the hike. Here you will first meet the guides who will accompany you to the top. Then the hike begins. The first part is immediately the hardest. You walk quite steeply uphill through a dusty sandy path. Try to walk calmly and drink enough water. The guides keep a close eye on everyone and also take a break in time when necessary. You will walk along this dusty path for about the first hour until you reach the entrance to the park. Here you must register as a visitor and pay 50Q. Here you immediately have a slightly longer break to catch your breath for the rest of the hike.
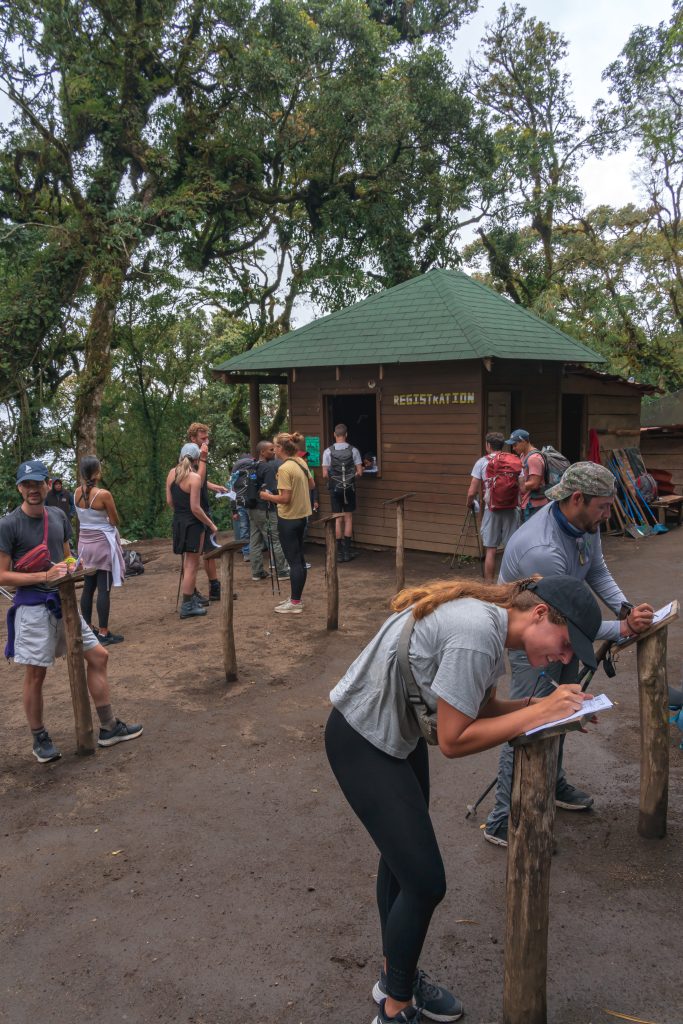
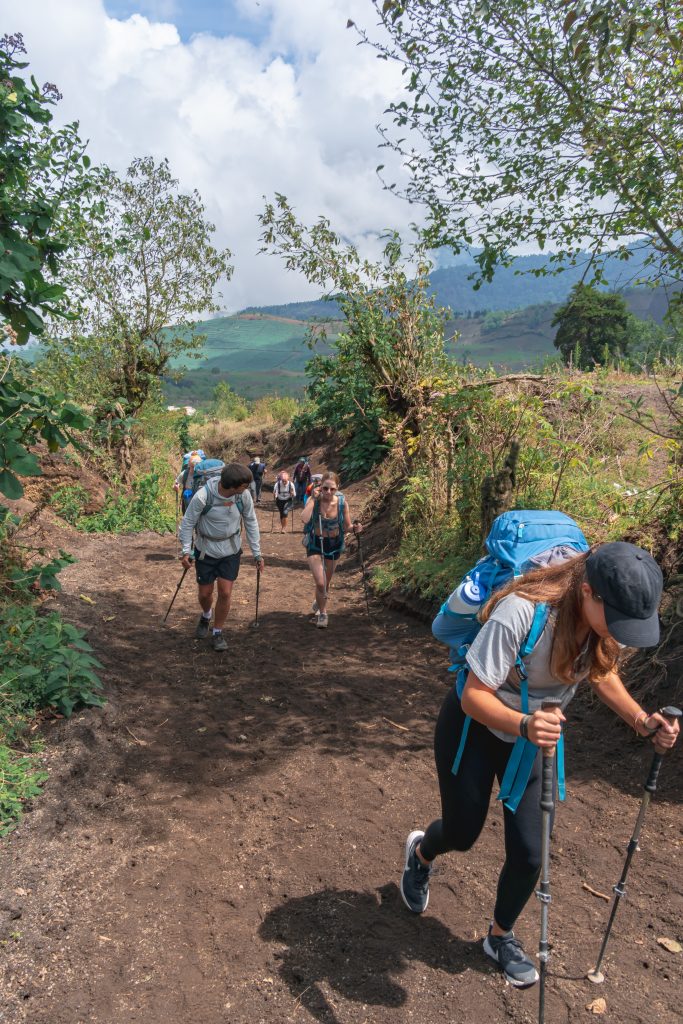
TIP: make sure you have enough cash with you for the entrance to the park.
After the entrance you slowly walk into the cloud forest. The paths here are no longer so dusty and you largely walk in the shade of the trees. Some parts are still steep, but because you do not sink into the sand and you walk in the shade, this is a lot easier to do. After about an hour to an hour and a half you arrive at the first break spot. Here you will have a half-hour break and you can enjoy your packed lunch.
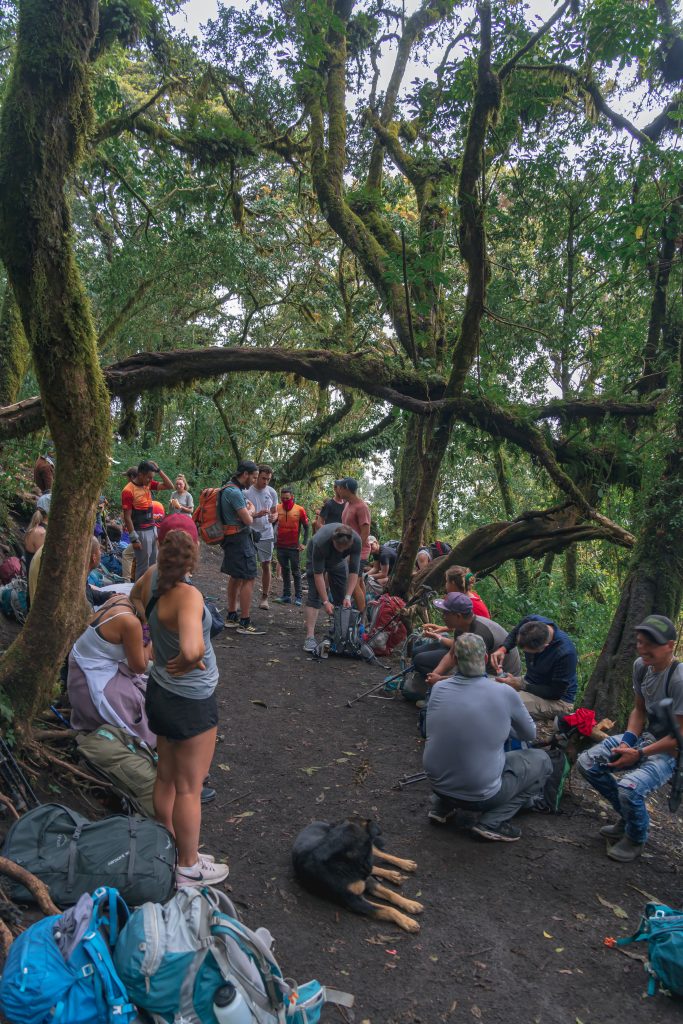
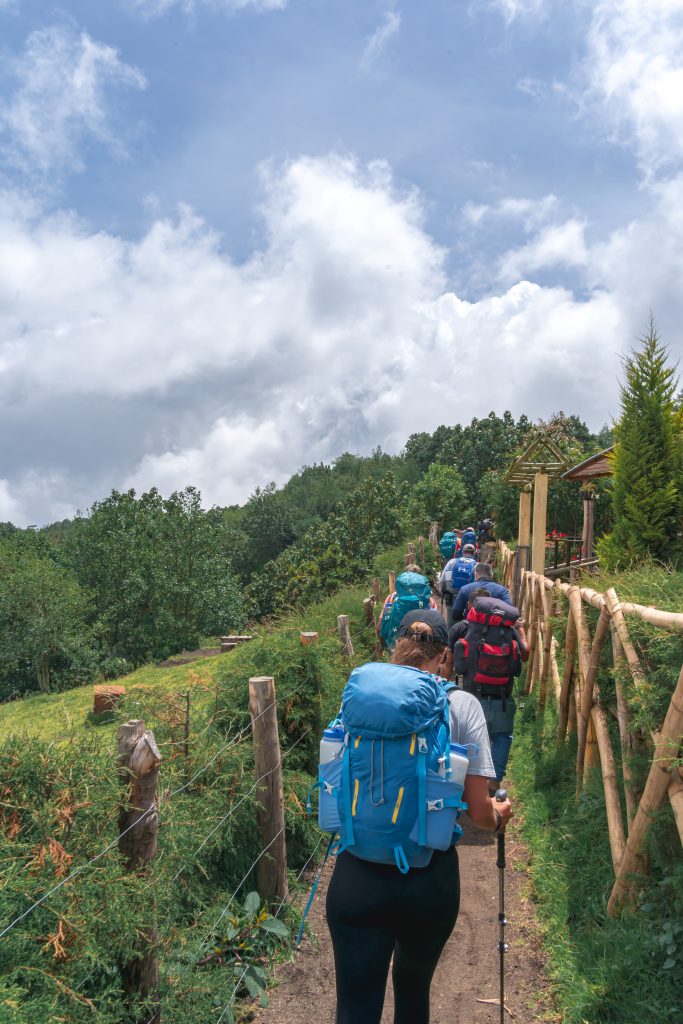
TIP: take walking sticks. These give you extra support both for the hike up and back down.
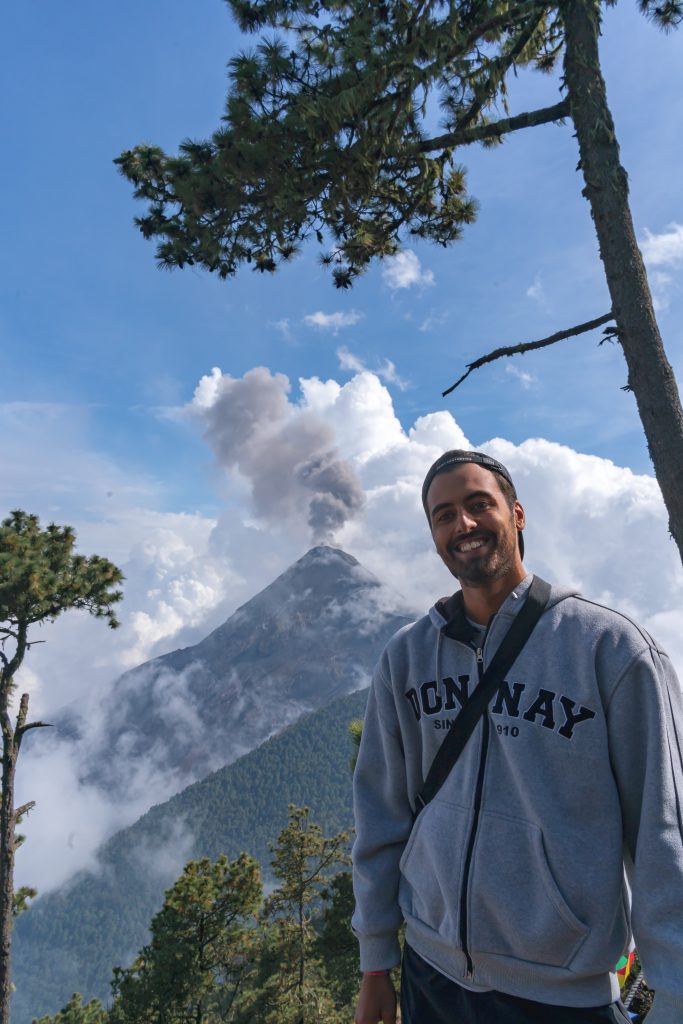
After the break you enter the last part, also called 'the fun part' by the guide. From here the most beautiful views start and the path does not just go steeply up. You walk parts up, down and flat. A lot less difficult than the beginning, but the fatigue is becoming more noticeable. This part seems to go a lot faster than the first parts and after about 5 hours of hiking, you arrive at the base camp. A feeling of pride and euphoria overtakes you! At the same time, when the weather is nice, you can look out at the beautiful views and of course the Fuego volcano. Enjoy!
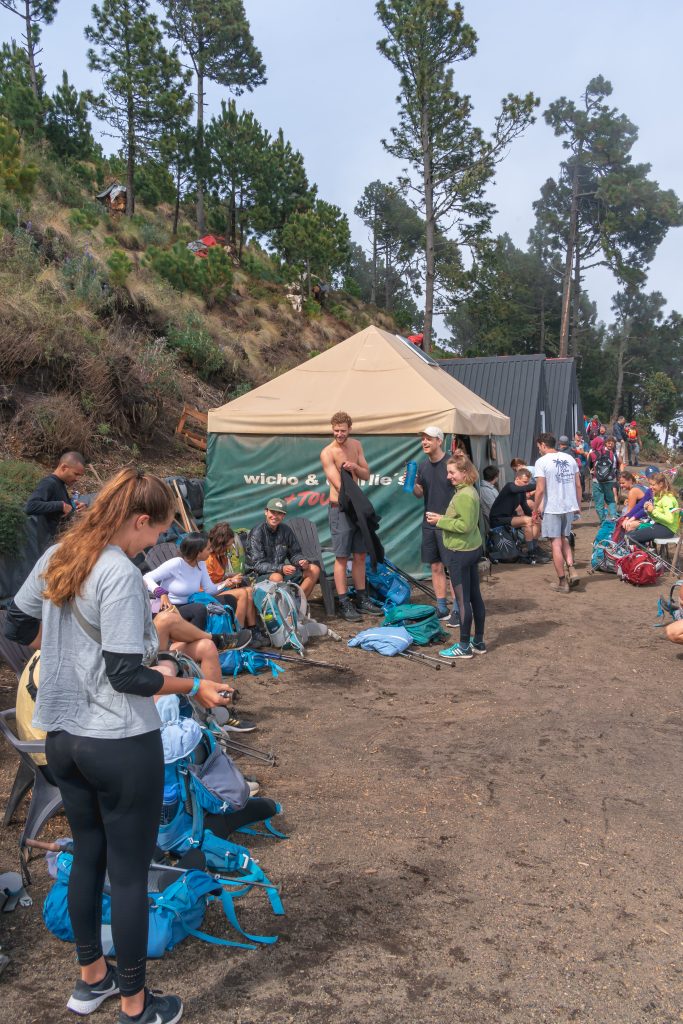
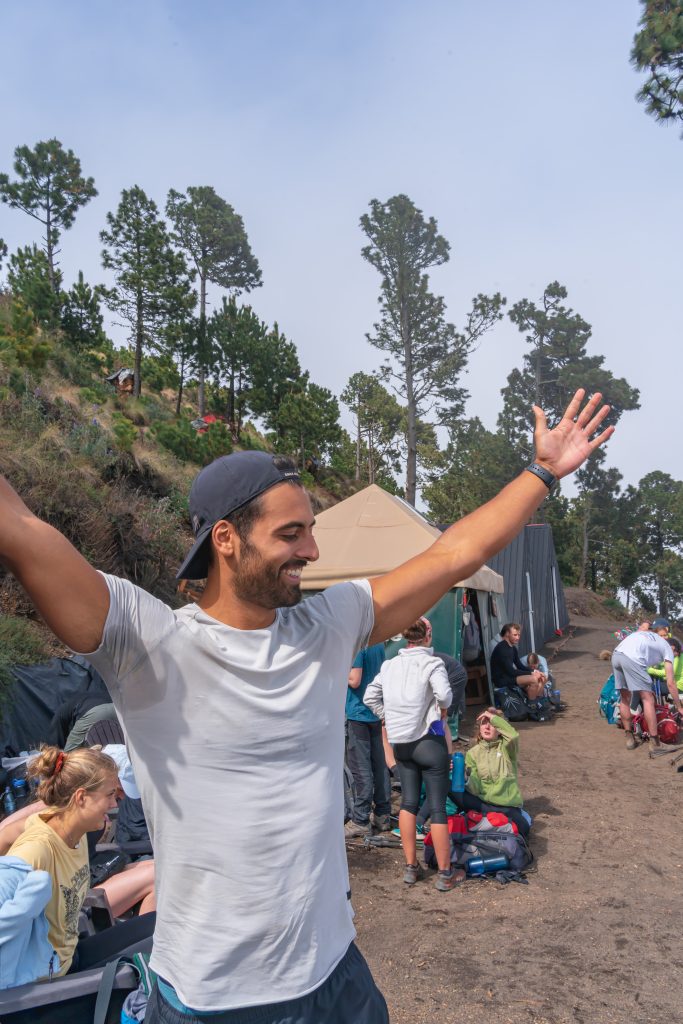
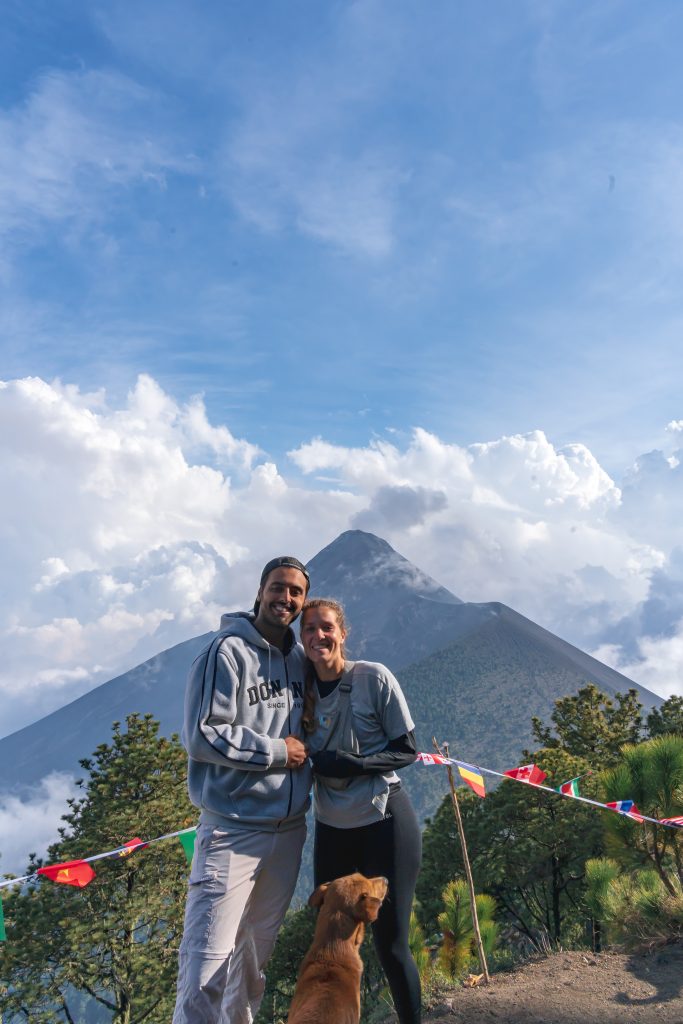
Once at the top you quickly notice that it is quite chilly, as the base camp is located at an altitude of 3700m. So dress well and sit down to relax. Make sure you eat and drink enough, as you may suffer from altitude sickness. Unfortunately, Tessa had some trouble with this and got quite a headache. The guides have good medication for this, so let them know immediately if you don't feel well.
TIP: It's quite cold at the top, so make sure you bring enough clothes.
The Fuego hike
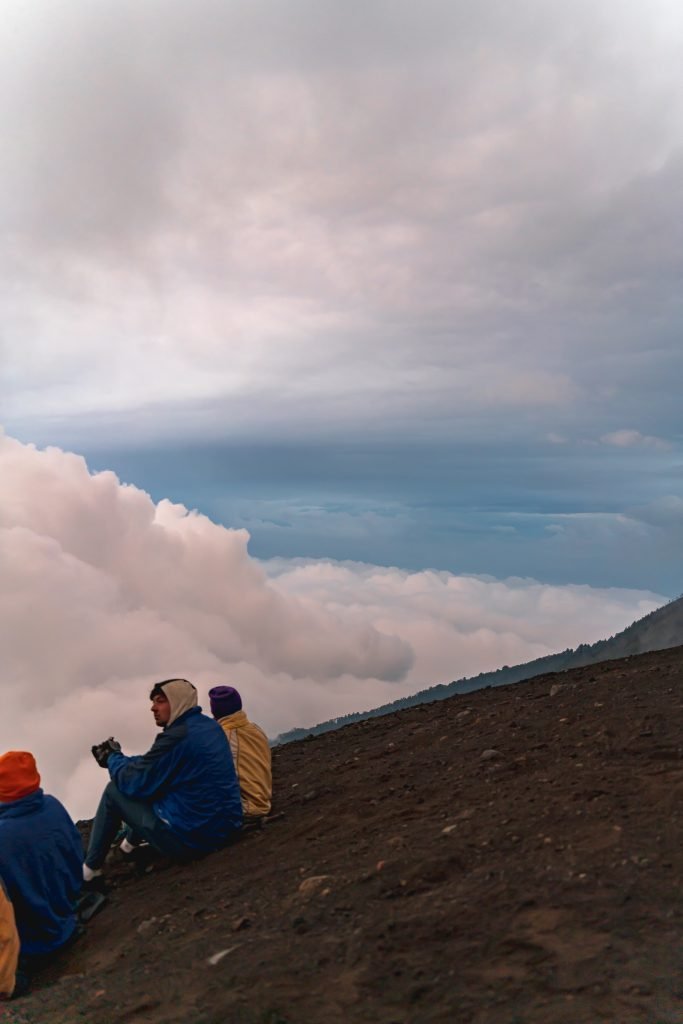
After a short break you have the choice to also take the hike to the active Fuego volcano. You pay an extra amount of 200Q for this upon your return. This hike is slightly riskier and heavier than the hike to basecamp. Keep in mind that you will be hiking about 5 extra hours. Because Tessa wasn't feeling well, she didn't go along, but Marlo did do this hike. And it was definitely worth it! After all, you will never come this close to an active volcano again.
The overnight stay on the Acatenango volcano
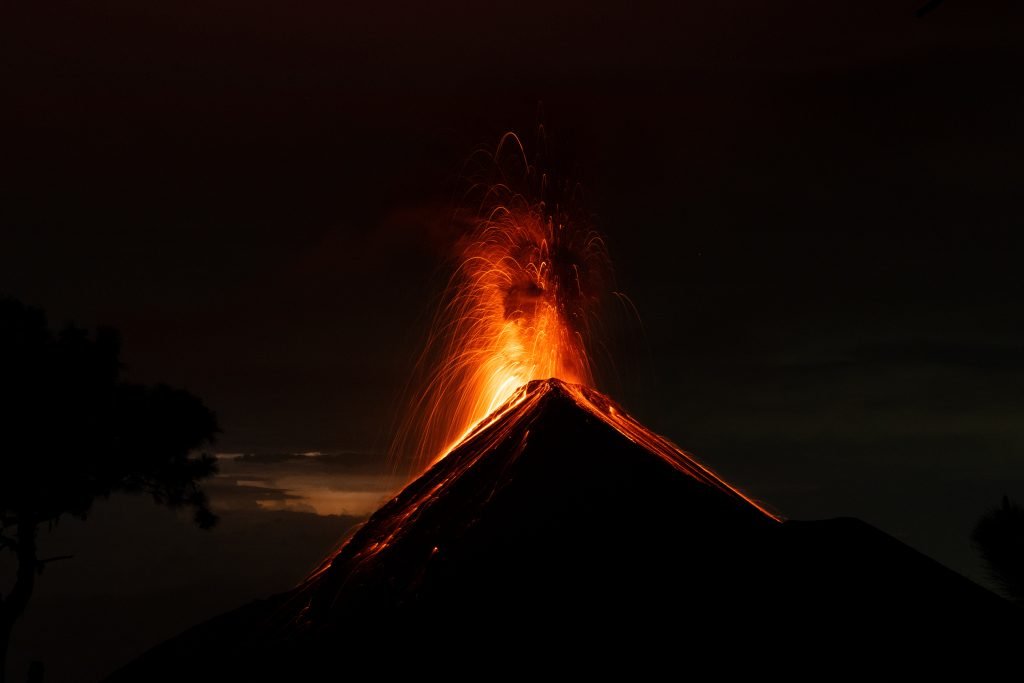
As soon as the hikers from the Fuego return, the guides will serve you a delicious evening meal. The food is going down well, especially among the Fuego hikers. Then you all sit by the campfire with hot chocolate and marshmallows. Meanwhile, the Fuego volcano erupts in the background about every 20 minutes. The darker it gets the better you start to see the red lava coming out of the volcano. At some point it is time to go to bed, but you would prefer to stay outside all night looking at the volcano.
The summit hike
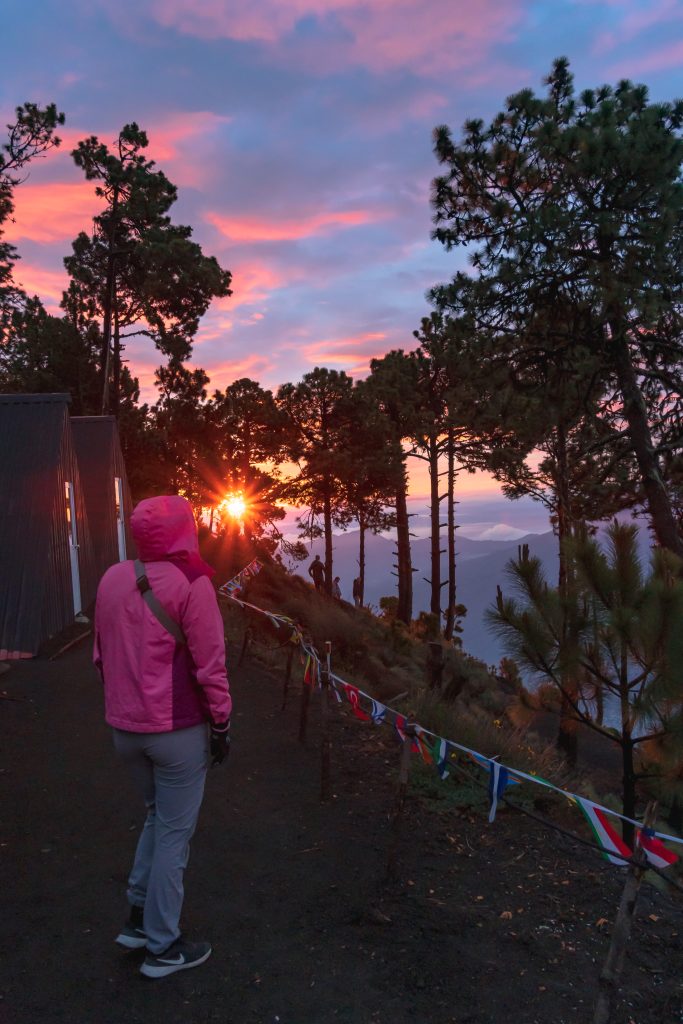
After a short night with little sleep, you will be woken up at 4:00 am to walk to the top of Acatenango for sunrise. This hike takes an hour, during which you walk steeply up volcanic sand. A tough hike, but with beautiful views as a reward. Of course you can also choose to skip this hike. Because Marlo was still completely exhausted from the day before and we had both barely slept, we chose to watch the sunrise from basecamp.
Time to go back
Once the rest of the group returns, you will be served coffee and breakfast. Then it's time to pack all your things again. Then the hike down begins. You can hike back down in about 3 hours. This goes a lot faster than going up. Because some parts are so steep, it is easier to run down. You will also feel your knees as soon as you arrive at the last part of the hike. Then you return to the bus at the bottom, where you go, tired but satisfied, back to Antigua.
We definitely recommend that you stay in Antigua for at least 1 more night, so that you can really recover and rest. Take a nice shower and sleep in a good bed. We stayed at this wonderful hotel in the centre of Antigua.
How hard is the Acatenango hike?
To be honest, it is not an easy hike and you should certainly not underestimate it, but with an average level of fitness you should certainly be able to do it. Make sure you walk at your own pace, the guides will split up as the group splits up. Try not to walk too much at someone else's pace, Tessa did this at the beginning and the first part was therefore quite difficult for her. Ultimately, the hike is 100% worth it and you really don't want to skip it when you are in Guatemala!
Good to know
A number of things that are useful to know and take into account:
- There is of course no bathroom or toilet on top of the volcano. So keep in mind that you have to do this in nature and that you cannot wash yourself. If necessary, take wet wipes with you so that you can clean your face, for example. Make sure you put away your toilet paper and wipes neatly.
- Do not start the hike with too much clothing on. It is really cold on top of the volcano and the hike will make you feel quite hot.
- Leave any items you do not take with you at your hotel. You only take the most important things with you:
- Toiletries
- Thermal clothing, sweater/vest and jacket
- Sportswear as bottom layers.
- Mountain boots are recommended, but we simply did it on our sneakers.
- At least 4L of water per person, of which you must give 1L to the guides for cooking.
- Bring extra snacks with you, especially if you know you are eating properly. Marlo was quite hungry and the food was not quite eating enough for him.
- Your bag easily weighs about 10-12 kilos with all the things you need to take with you. You can choose to take a porter, who will carry your belongings up for you for about 20 euros.

You might also like



 English
  Dutch
Dutch
Leave a reply